ERO Joint® HP Flat belts are assembled in the same way as Timing belts.
Image
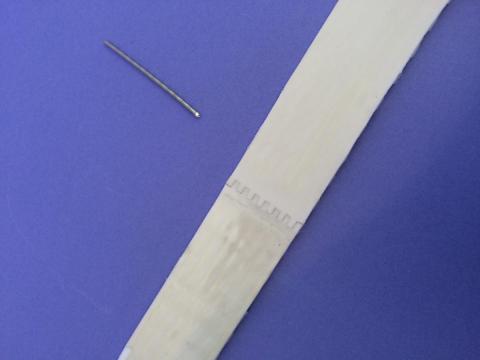
Step 1:
Align the teeth.
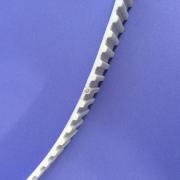
Teeth must be correctly aligned to avoid damaging Cords during rod insertion.
Image
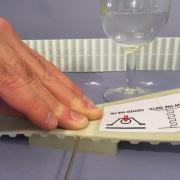
Step 2:
Insert the rod using a screwdriver and water (as a lubricant) to aid insertion.
For proper alignment, we supply a mounting plate.
Image
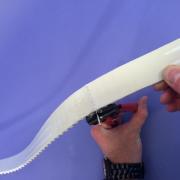
Step 3:
Cut the rod flush with the Belt.
Image
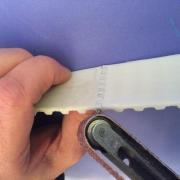
Step 4:
Grind the stem on both sides.
Image
Step 5:
Check that the rod does not extend beyond the edges of the Belt.